Keeping my family healthy and staying on a budget isn’t easy. It’s a science, really. It starts with figuring out what everyone likes and what they’ll tolerate. It’s a balance between fixing foods the kids will eat and foods they love. It’s celebrating when we strike the jackpot- they love it AND it’s healthy! The two biggest obstacles for me are time and money. In many cases, healthy food isn’t cheap, and it often involves a few more steps in the kitchen. For us, having a weekly menu has been key. It eliminates the issue of not knowing what to fix, and defaulting to something easy (and often less nutritious) or going out.
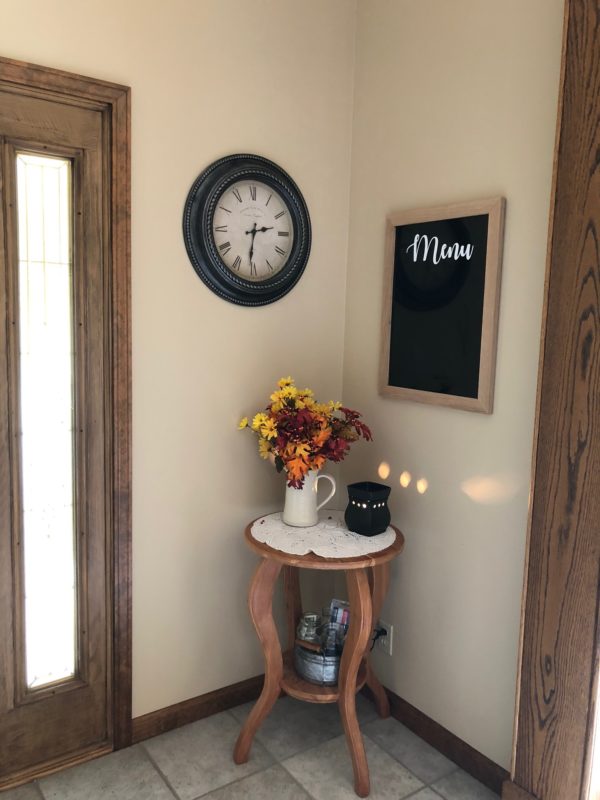
I wanted a menu board in our kitchen visible to myself, Nick, and the kids. I wanted it to be easy to use and change out, like a dry erase board, but not ugly. We have a lot of white and bright in our kitchen, so I thought something dark would contrast well. I considered a chalkboard, but keeping it clean wasn’t appealing. Then I thought about a dark dry erase board like you see in restaurants. A quick Amazon search and I found one for a decent price.
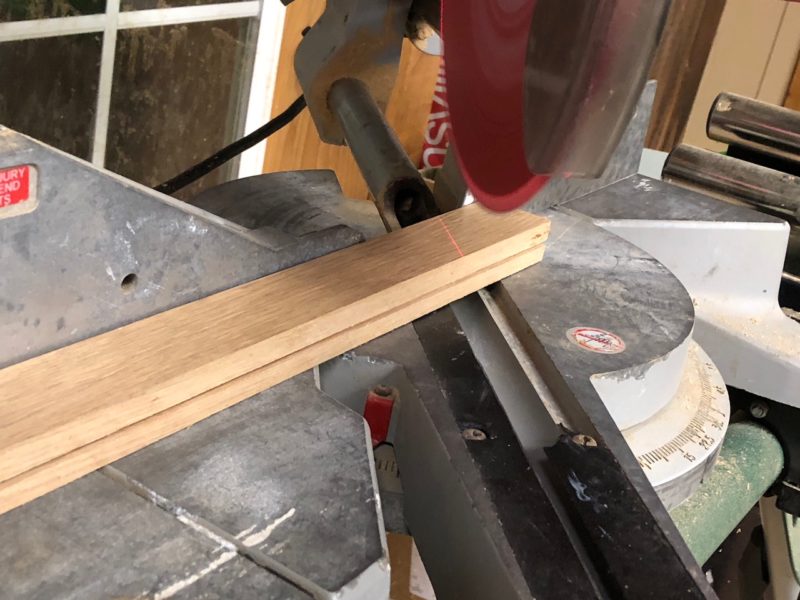
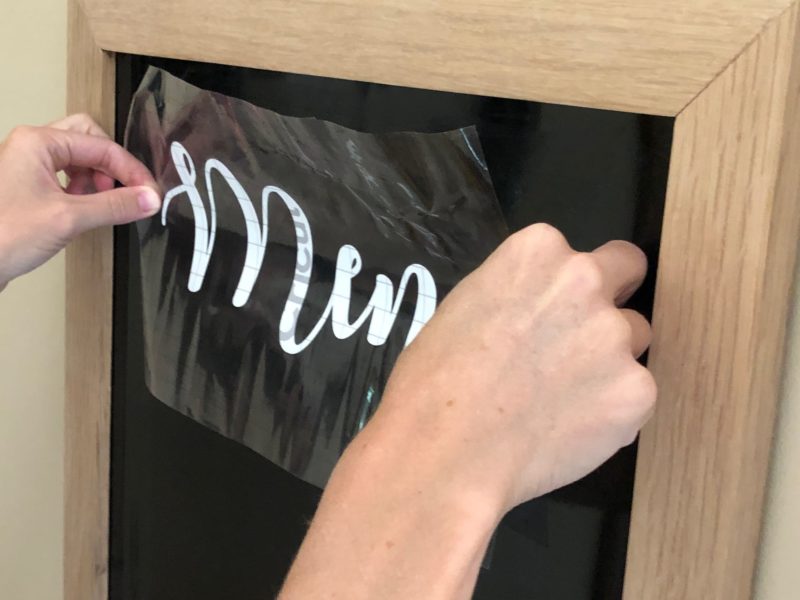
The first thing we did was take off the plastic framing. Do I even need to tell you what we replaced it with? Of course, you know I wanted a wood frame with our reclaimed barn wood! I can’t help myself. It’s so easy for Nick to throw together a basic frame for my different projects. For this, I kept it clean and simple, choosing not to apply stain and instead let the natural wood shine. For those who don’t have a barn full of scrap wood, you can make a simple frame from any wood or purchase a large picture frame instead.
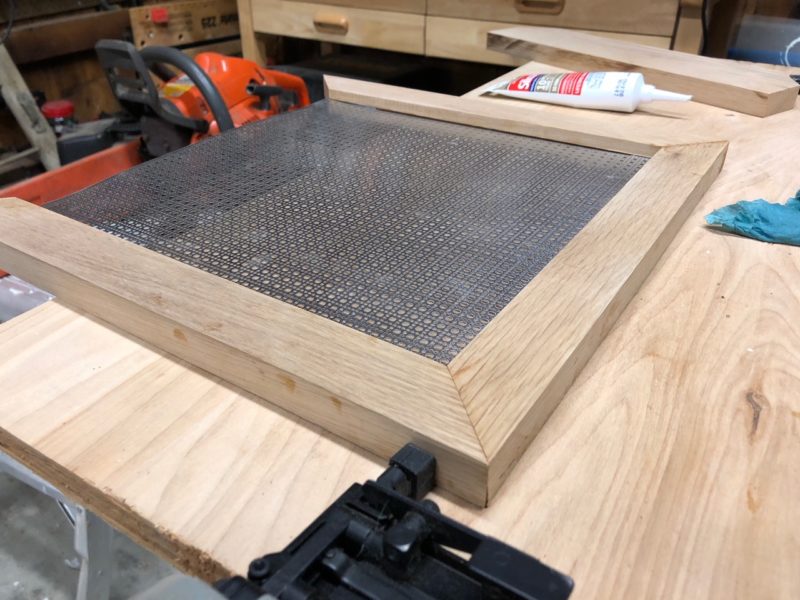
This was the frame for my jewelry organizer, but he actually did them at the same time. I didn’t get pics of the larger menu frame
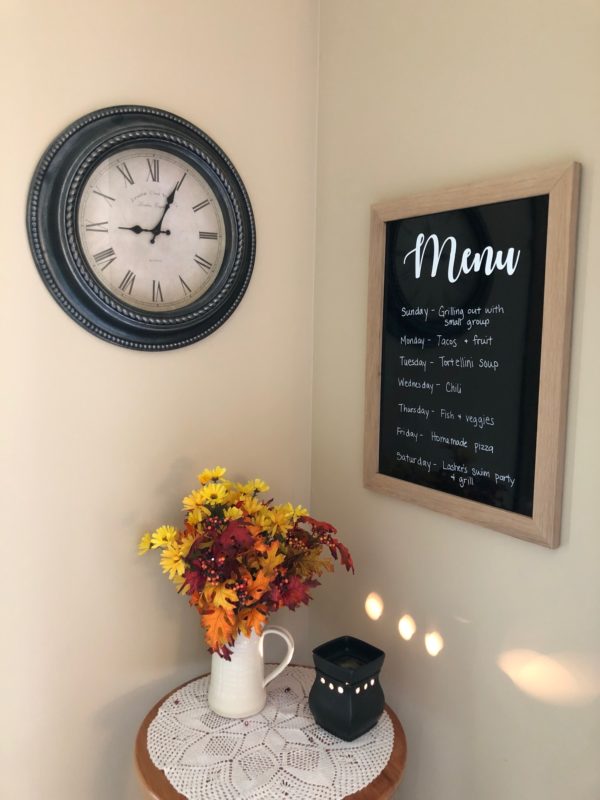
The dark glass requires liquid chalk markers rather than basic dry-erase. Erasing also involves wiping it off with a wet cloth or glass cleaner as opposed to simply erasing, but with only needing to fill in the menu once a week I’m ok with that.
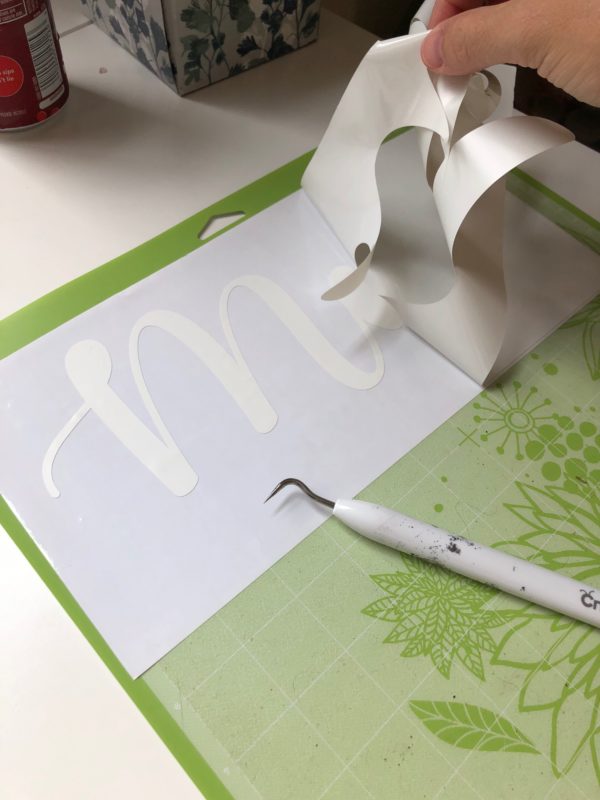
I played around writing “Menu” at the top with my best attempt at calligraphy but realized it made more sense to put something permanent on. I used my Cricut vinyl cutter to make a sticker and pressed it to the board. I hadn’t used my vinyl cutter in a while and I forgot how much I enjoy making custom projects and gifts. If you don’t have one, they’re very popular and you could probably reach out to a friend to make a custom sticker.

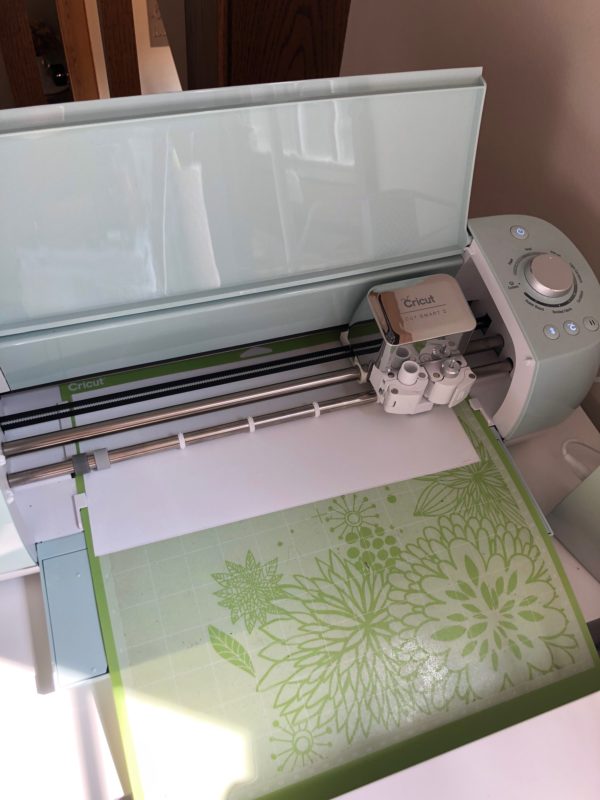
My Cricut vinyl cutter at work
The finished project looks like a casual piece of art instead of an afterthought. The wood frame ties in with other wood in the kitchen and the dark glass is a nice contrast to our light cabinets but match other subtle dark pieces throughout the kitchen, like our dark island countertop and other black art frames.