
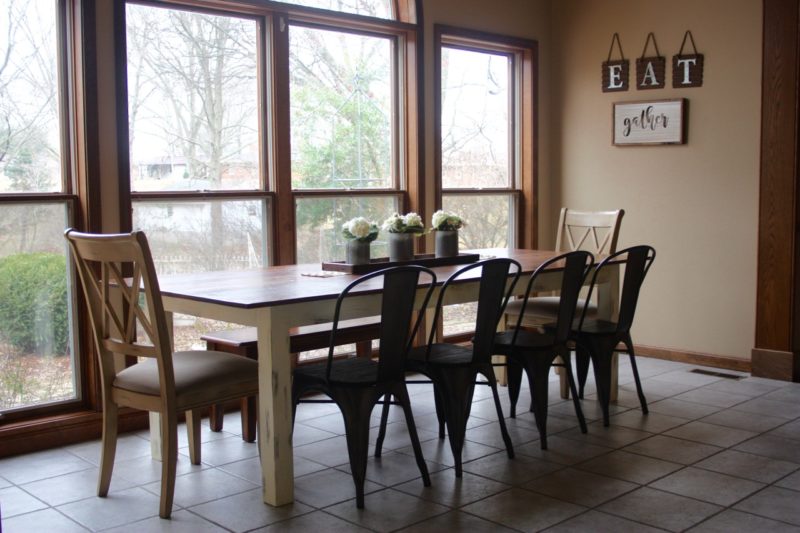
No farmhouse would be complete without an oversized harvest table, and our is no exception. Shortly after moving in, I started shopping for the perfect one to sit next to our floor-to-ceiling windows overlooking the flower garden. I stopped looking after about 30 seconds. 8-foot tables don’t come cheap, and that’s not including benches or chairs. For a year we had this tall 4×4 table and chairs from our previous tiny breakfast nook. It was way to small for our family, and also for the large dining area. By this time my husband had completed a nice collection of woodworking projects and offered to build our table. I’m pretty sure it was just an excuse for him to purchase a joiner and some new tools. But, at a fraction of the price of a new dining set, I jumped on board. Especially when he told me he could make the table top from our stash of barn wood.
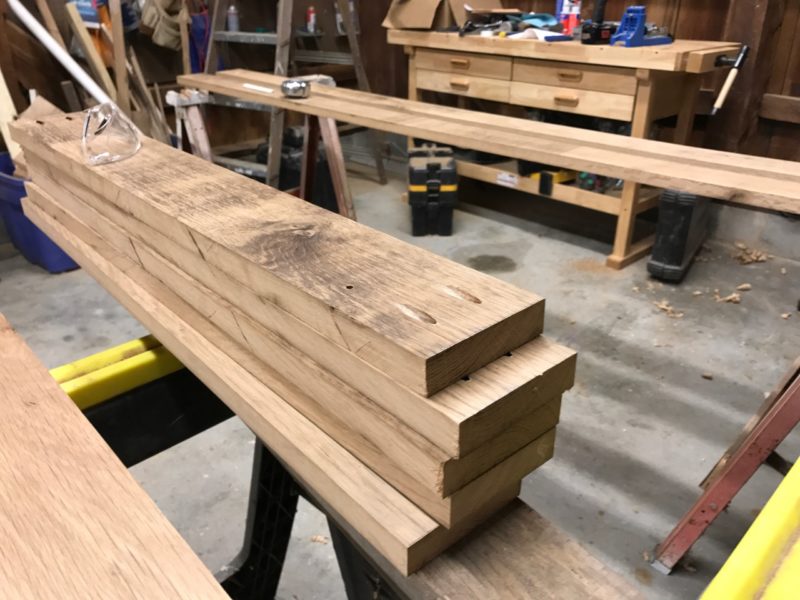
Barn wood post planer
My favorite part of projects like this is seeing a piece of old barn wood run through a planer and transformed into a beautiful, clean board. We’ve now done multiple projects with this wood and I love the look of it raw before it’s stained. I have no clue how old some of this wood is, but it comes out of the planer looking how I imagine it did the day it was originally milled.
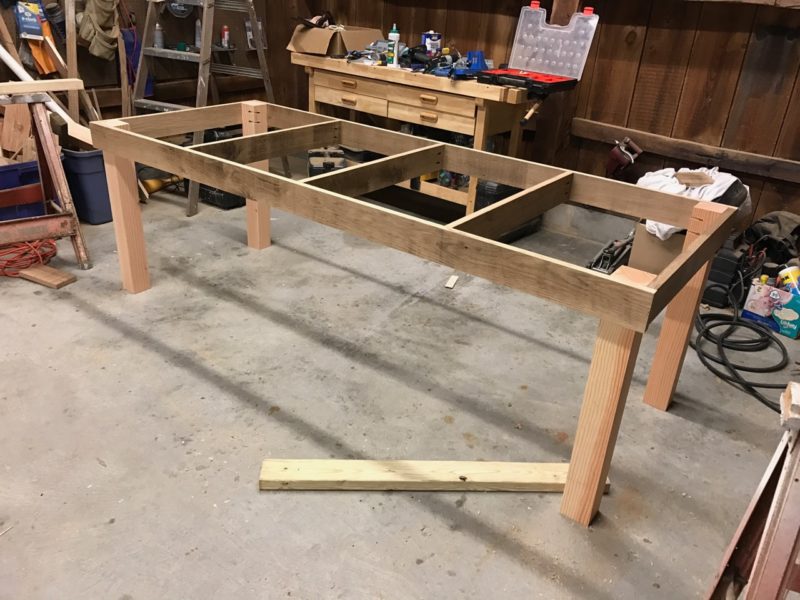
Table base
We bought the lumber for the legs and used the barn wood for the table top. My job was painting the base. I wanted an antiqued, distressed look, and this was my first attempt at that style of painting. After looking up a few videos on different techniques, I ended up painting the entire base a dark brown color, then painted an off-white color on top. After this, I used an electric sander as well as manually sanded down certain places to let the dark brown show through and give it that distressed look.
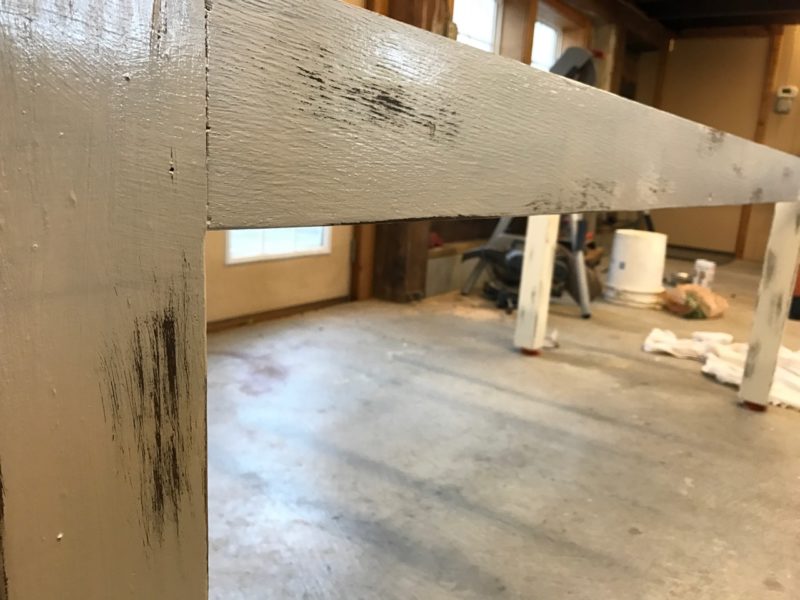
The goal is to distress areas that would typically see a lot of wear, such as corners and places where chairs are pushed in. At first, I couldn’t decide if it looked great or if it looked like a crazy cat went to town scratching the entire thing. But, I received some good feedback from family and friends and decided to go with it.
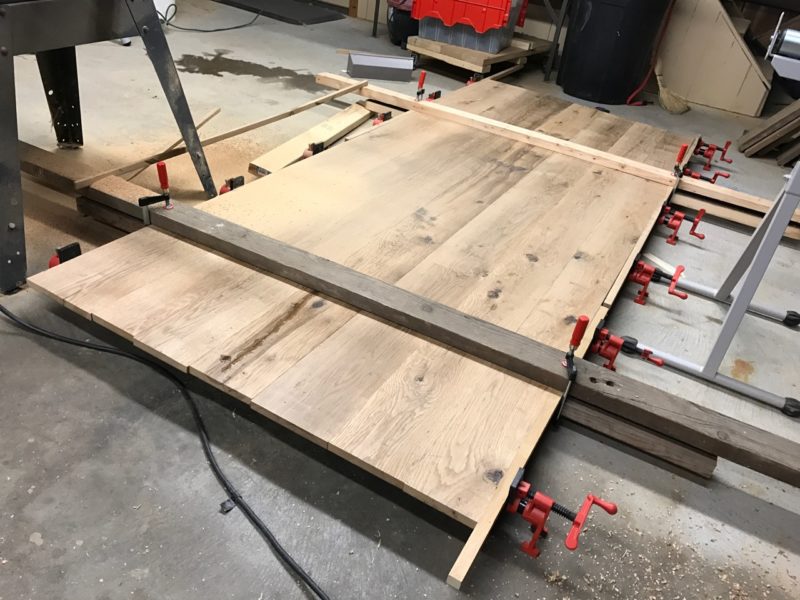
The table top was a learning experience for Nick, and it really turned out great. We played around with a few stains. I like gray tones but we have a lot of warm wood in our kitchen so we did a blend. I wanted a gap between the boards to give it a more rustic look. He preferred a solid piece and won me over after convincing me the gap would do nothing but collect crumbs and debris from our messy offspring.
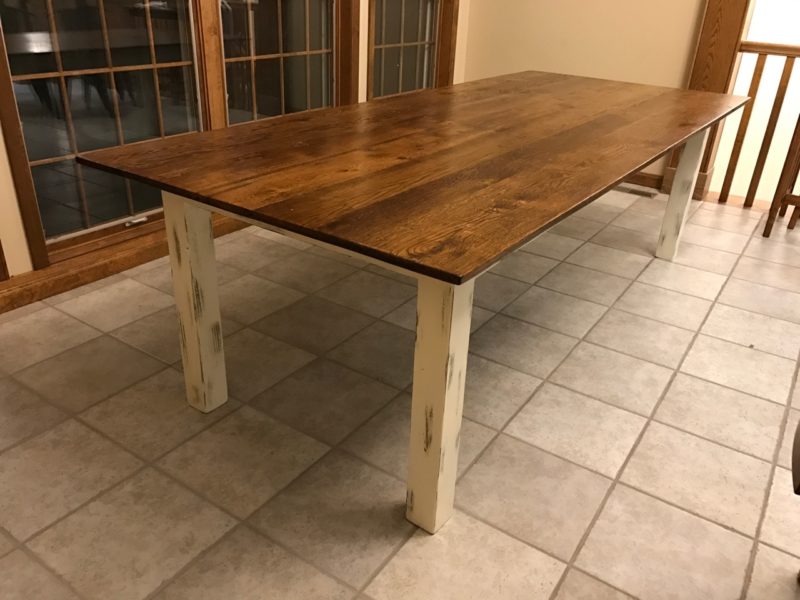
I couldn’t be happier with the finished product. Our custom DIY table fit the large dining space in our kitchen at a fraction of the price of a new table that size would typically cost. We found the chairs on Wayfair, opting for a mix of both metal and classic wood chairs for the ends. I’m still waiting for Nick to make a matching bench for one side.
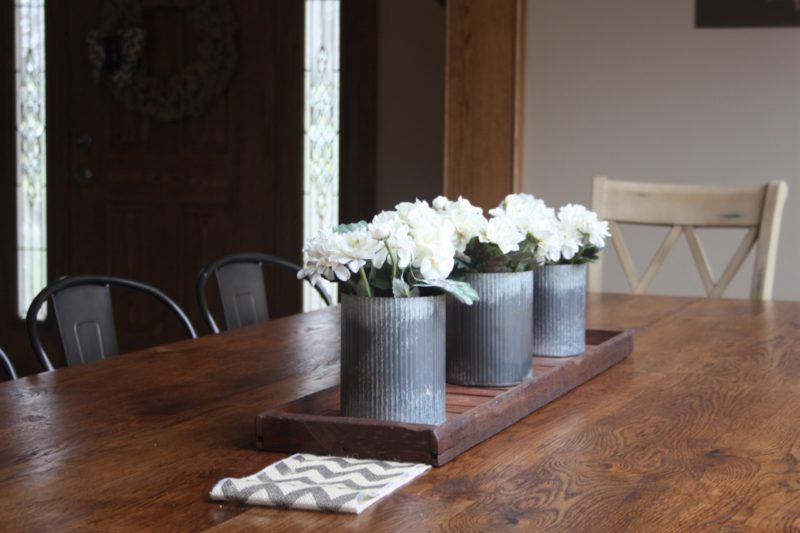
Of course, decorating is also fun. I change the centerpieces out seasonally, but my go-to set up is three tin cans I bought from Magnolia Market on our trip to Texas, stuffed with white flowers. I set them in a serving tray I bought from a local artisan who makes them out of old scrap wood. Large table runners can be pricey as well, and I don’t love end-to-end table runners I have to move when we eat. Instead, laid out patterned burlap.
Before we moved here, I would often pray about my future home. I would pray not for a big house with lots of “stuff,” but for a place that felt like home, where my kids, their friends, and anyone else will feel welcome to gather and break bread with us. I prayed about the family time that will be spent together at the kitchen table and the conversations we will have with our kids as they grow up. I know it’s just a table. I would like to give the distress-painting a better go. The top is just a bit un-level. We may try again one day, but for now, it’s perfectly imperfect and I love it.

